Category: Instructions
VPN to LabraNet
You can access your home folder and other resources from your home network with VPN. Instructions for connecting to the LabraNet VPN and mounting your home folder can be found in the LabraNet Remote Access Guide
If you encounter any problems with VPN connection here are few remedies to known problems:
– DNS problems are often solved by flushing the DNS cache (in windows the command is “ipconfig /flushdns”, in linux you need to restart nscd daemon with command “/etc/init.d/nscd restart”)
– Connectivity problems are caused by not receiving proper routes from VPN connection, DHCP clearance is often needed to get VPN routes. In windows commands are: “ipconfig /release” and after that “ipconfig /renew”. In linux “dhclient -r” will renew DHCP bindings.
– Check whether the VPN tunnel is in full or split mode (See Advanced Routing in the Guide). Sometimes full tunnel mode works better
Notice! Due to server side access control implementation, passwords with umlaut characters or more uncommon special characters might not be accepted during authentication. You can use the password reset service to test if this is an issue for you.
Virtual Learning Environment (VLE)
Virtual Learning Environment (VLE) is part of the LabraNet study network and is run locally in a private cloud infrastructure. VLE provides infrastructure for realistic IT laboratory conditions for advanced studies courses and environments can be deployed quickly using a one-click portal.
VLE environment is only available to students enrolled to courses which utilize VLE for exercises. To access VLE, you must first have a working LabraNet VPN connection. All VLE deployments are accessed under https://portal.vle.fi. More information about the environment and infrastructure can be found in https://index.vle.fi (also requires VPN).
LabraNet info presentation
The new LabraNet info presentation for new students.
The video is accessible from JAMK Panopto at https://panopto.jamk.fi/Panopto/Pages/Viewer.aspx?id=b41acb3a-b88f-498d-9ab6-ace200c9c1be
See PDF version here:
Password Resets
If you have forgotten your LabraNet password or otherwise want to change it remotely, you can use the LabraNet Self-service portal when the following applies:
- Your account is not disabled / locked
- You have access to your JAMK email account
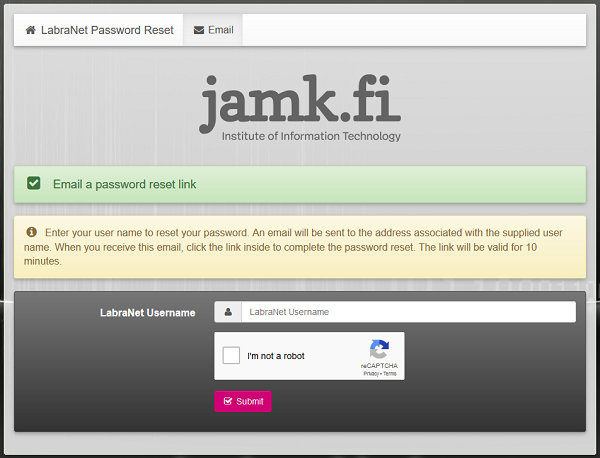
The Self-service portal can be found at:
student.labranet.jamk.fi/passwd/
By filling in your LabraNet username and reCAPTCHA, you can generate a password reset link which will be sent to your JAMK email account.
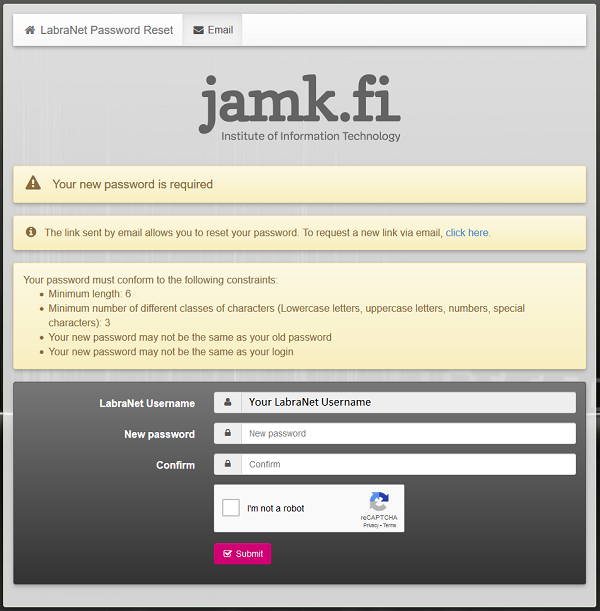
Opening the link from your email account will lead to a form with which the password change can be completed. Read the password requirements and fill in your new password twice and complete the reCAPTCHA. Click Submit to complete the password change.
Note!
- If you have forgotten your JAMK account password, you can reset it via JAMK password service
- The email link is only valid for 10 minutes
If the password reset fails or you have trouble with the service otherwise, please contact LabraNet helpdesk.
LabraNet GitLab
GitLab is a web-based Git repository manager with additional features, such as wiki, issue-tracking and CI/CD pipelines. LabraNet Gitlab can be used by students to host their study related software development projects.
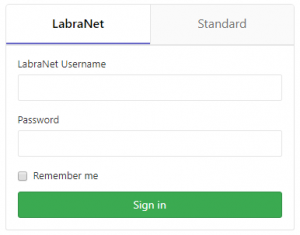
Logging into LabraNet GitLab
Users can use their LabraNet credentials to sign into the GitLab. If you don’t have a LabraNet account, see FAQ for more information. On the front page the LabraNet sign in-option has to be selected.
Backing up projects
Individual projects are not backed up, so users are responsible to keep backup copies of their projects. Repository contents can be backed up cloning the repository. The entire project, including wiki, issues and settings can also be exported.

